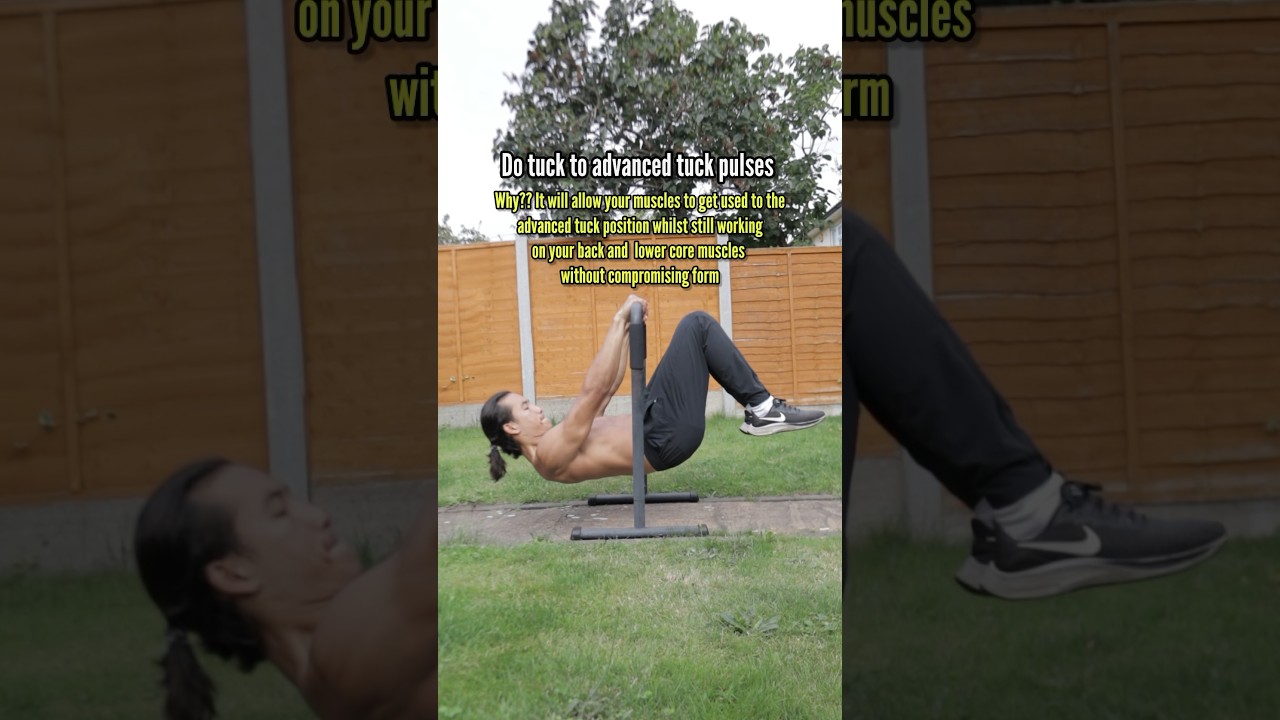
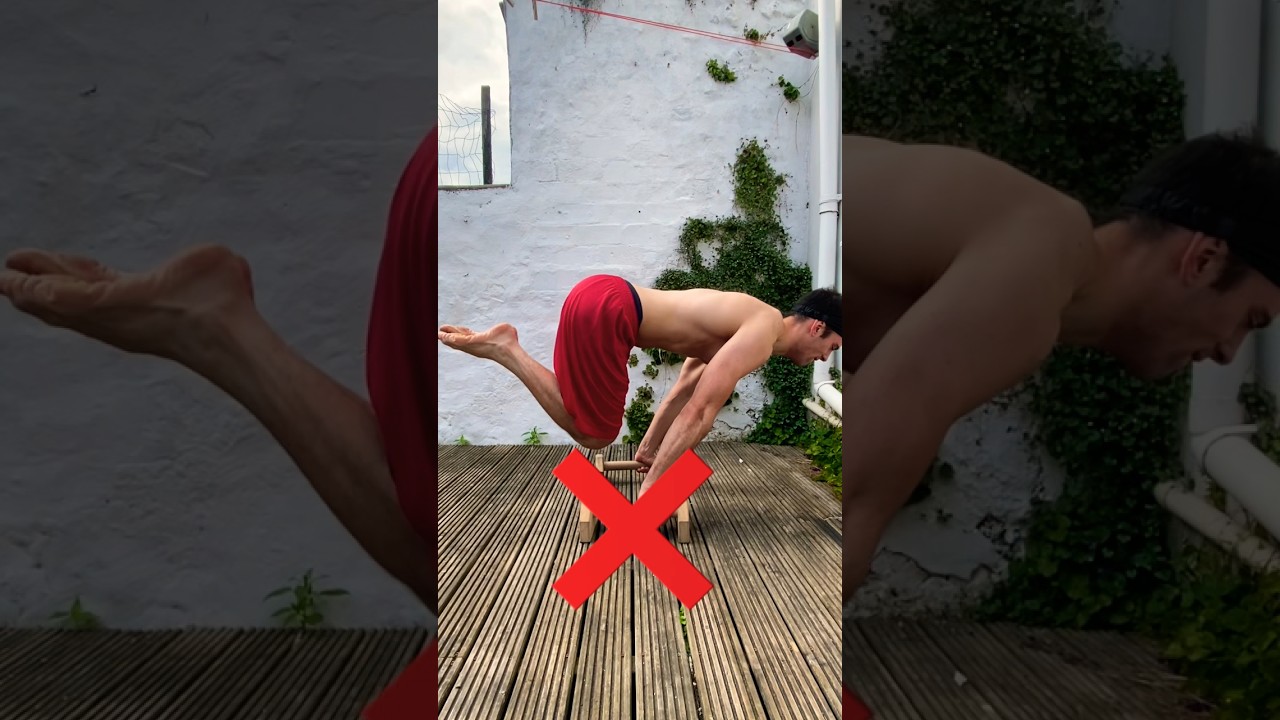
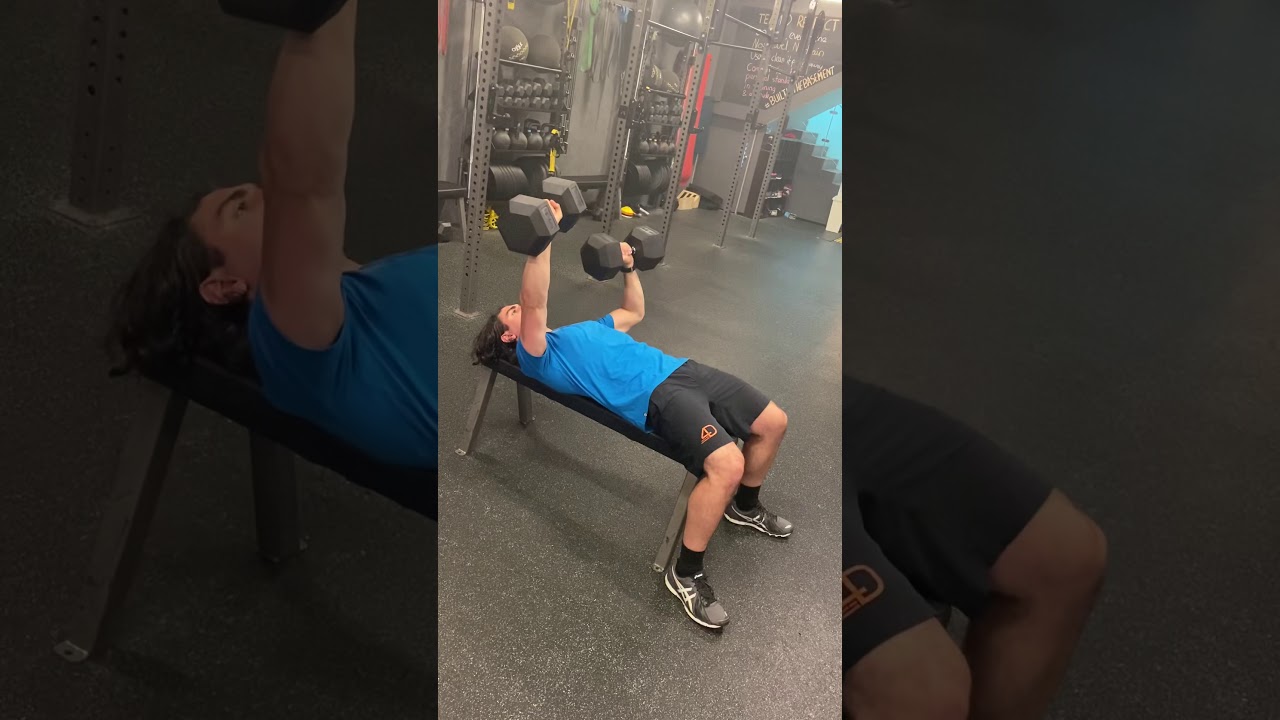
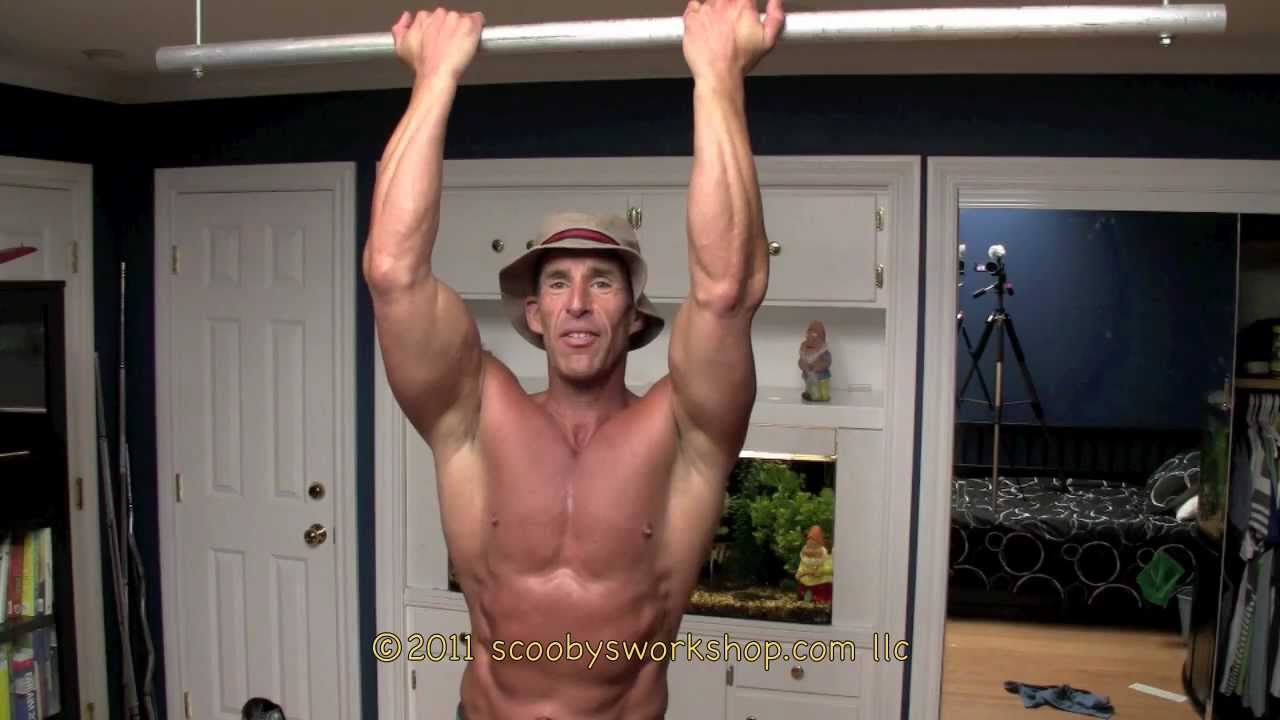
- Advanced Tuck Planche
Hold position with knees bent but hips more extended than tuck planche. Maintain straight arms and forward lean.
- Archer Pull-up
Pull yourself up while shifting your weight to one side, keeping the opposite arm straight as you pull to one hand
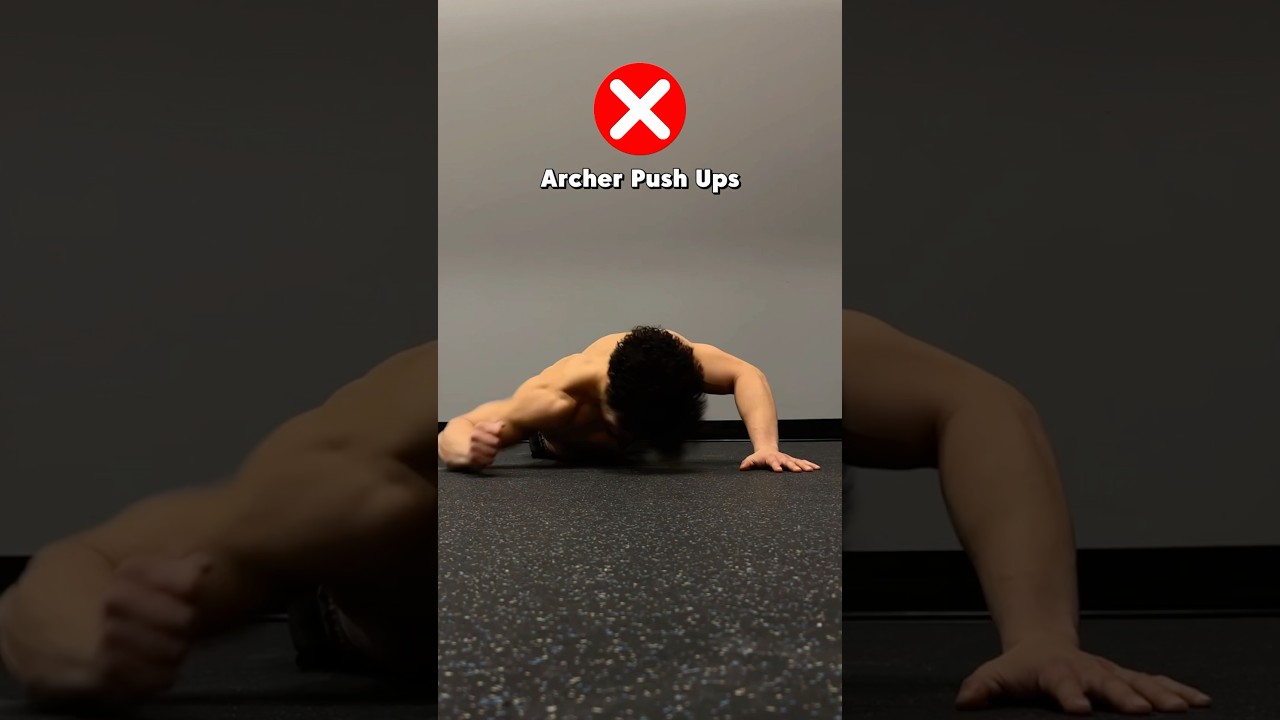
- Archer Push-up
Lower your body while shifting weight to one side, keeping one arm bent and the other relatively straight. Push back up and alternate sides.
- Assisted Pull-up
Pull your body up until your chin clears the bar, then lower yourself back down with control while the machine assists
- Band-Assisted Pull-up
Pull your body up until your chin clears the bar, using the band's assistance, then lower with control
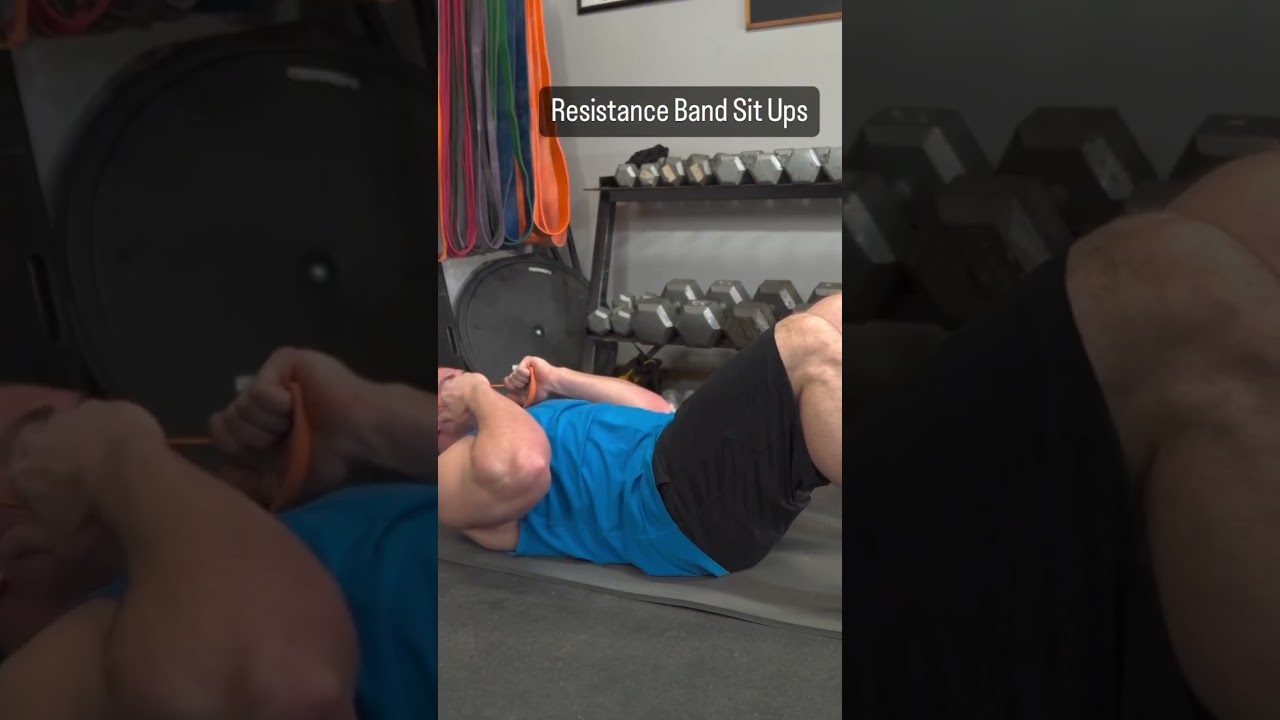
- Banded Sit-up
Contract your abs and sit up while the band provides assistance or resistance depending on setup. Control the movement in both directions.
- Barbell Squat
Initiate movement by pushing hips back and bending knees. Descend until thighs are parallel to floor. Drive through heels to return to starting position.
- Butterfly Pull-up
Perform continuous pull-ups using a circular kipping motion without stopping at the bottom
- Butterfly Sit-up
Contract your abdominals and curl your torso up toward your knees. Lower back down with control.
- Chins
Pull your body up until your chin clears the bar, then lower yourself back down with control
- Decline Diamond Push-up
Lower chest toward hands by bending arms, keeping elbows close to body. Push back up to starting position.
- Decline Sit-up
Contract your abs and lift your torso up against gravity. Pause at the top, then slowly lower back down with control.
- Deficit Lunges
Step forward and down off the platform into a lunge position, achieving greater range of motion. Push through the front heel to return to the elevated starting position.
- Front Lever
From a hanging position, slowly raise your legs and torso until your body is parallel to the ground. Hold this position while maintaining a straight line from head to toe.
- Front Lever on Rings
From hanging position, raise legs and torso to horizontal position while maintaining ring stability. Hold with body straight.
- Front Lever with Bands
Use band assistance to achieve front lever position. Focus on proper form while band reduces load. Gradually reduce assistance.
- Half Lay Front Lever
From hanging position, extend one leg straight while keeping the other tucked to chest. Maintain horizontal torso position.
- Handstand Kick-up
Kick one leg up while pushing through hands, follow with second leg to achieve handstand position
- Handstand Leg Raise
While maintaining handstand, flex hips to bring knees toward chest, then extend back to starting position
- Handstand Pike Press
Shift weight forward while lifting legs up and back to achieve handstand position without kicking
- Handstand Shoulder Tap
Shift weight to one arm while lifting the other hand to tap the opposite shoulder. Return to starting position and repeat on other side
- Handstand Tuck Press
From tuck position, press through hands while extending legs up and back to achieve handstand position.
- Leg raises
Keeping legs straight, contract your abs and curl your torso up while bringing knees toward chest. Lower back down with control.
- Incline Diamond Push-up
Lower chest toward hands by bending arms, keeping elbows close to body. Push back up to starting position.
- Incline Dumbbell Press
Press dumbbells up and slightly inward until arms are extended. Lower dumbbells with control to upper chest level. Press back up to starting position maintaining incline angle.
- Incline Sit-up
Contract your abs and lift your torso up toward your knees. The incline makes the movement easier than flat sit-ups.
- Isometric Push-up
Lower to desired position (top, middle, or bottom) and hold static position for specified time while maintaining muscle tension.
- L-Sit Pull-up
While maintaining the L-sit position, perform a pull-up by pulling your body up until chin clears the bar
- Lunge Jumps
Explosively jump up, switching leg positions in mid-air, landing softly in a lunge with opposite leg forward. Immediately repeat.
- Narrow Stance Squat
Descend by bending knees and pushing hips back while keeping torso upright. Drive through heels to return to standing position.
- Negative Pull-up
Slowly lower yourself down with control, taking 3-5 seconds to reach full arm extension
- Negatives Push-up
Very slowly lower chest toward floor taking 3-5 seconds, then either push back up normally or reset to starting position.
- Neutral Grip Dumbbell Press
Lower dumbbells to chest with control, pause briefly, then press back to starting position maintaining neutral grip throughout.
- Pause Push-up
Lower chest toward floor, pause for 2-3 seconds at bottom position, then push back up to starting position.
- Pause Squat
Descend into squat position and pause at the bottom for 2-3 seconds. Maintain tension and drive through heels to return to standing.
- Pike Handstand
From handstand, pike at hips bringing straight legs down toward parallel with ground, maintain balance and shoulder position.
- Planche
Shift weight forward onto hands while lifting feet off ground. Maintain straight body position parallel to floor with arms locked out.
- Planche on Rings
Lean forward while keeping arms straight, lift legs parallel to ground. Maintain hollow body position with shoulders protracted.
- Planche Push-up
Lower body by bending arms while maintaining planche position, then press back up to starting position.
- Planche with Bands
Lean forward into planche position with band providing upward assistance. Maintain proper form.
- Pull-up
Pull your body up until your chin clears the bar, then lower yourself back to the starting position with control
- Push-up
Lower your body by bending your elbows until your chest nearly touches the floor, then push back up to the starting position by extending your arms.
- Side Sit-up
Contract your obliques and lift your torso laterally toward your hip. Lower back down with control.
- Single-Arm Dumbbell Press
Lower dumbbell to chest with control, pause briefly, then press back to starting position. Complete all reps before switching arms.
- Single Arm Front Lever
From single-arm hang, raise body to horizontal position using only one arm. Maintain straight body line and control rotation.
- Single Leg Planche
Hold position with one leg extended straight back, other leg lifted or tucked. Maintain body parallel to floor.
- Single-leg Push-up
Lower chest toward floor while maintaining single-leg position, then push back up to starting position.
- Sit-up
Contract your abdominal muscles and lift your torso up towards your knees. Pause briefly at the top, then slowly lower back down to the starting position.
- Squat
Lower your body by pushing hips back and bending knees until thighs are parallel to floor. Drive through heels to return to starting position.
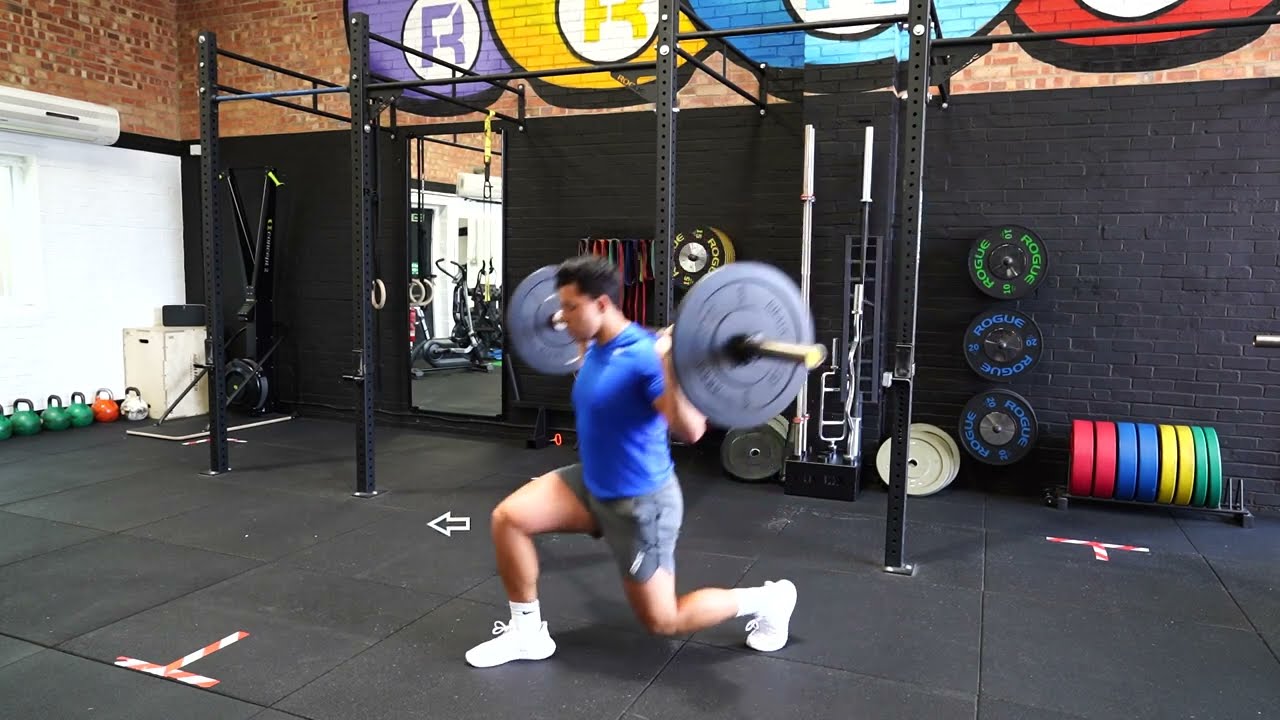
- Stationary Lunges
Lower your body by bending both knees until they reach 90 degrees, then push through the front heel to return to starting position. Complete all reps before switching legs.
- Step-Up Lunges
Step up onto the platform, then step the same leg back into a reverse lunge position. Return to starting position.
- Straddle Planche
Hold position with legs straight and wide apart, body parallel to floor, arms locked out.
- Sumo Squat
Lower your body by pushing hips back and bending knees, keeping knees in line with toes. Drive through heels to return to starting position.
- Tuck Front Lever
From hanging position, pull your knees to your chest and lean back until your torso is horizontal. Hold this tucked position.
- Tuck Handstand
From handstand, pull knees up toward chest while maintaining balance on hands, hold tucked position with tight core.
- Tuck Planche
Shift weight forward onto hands while lifting tucked feet off ground. Maintain tucked position with arms locked out.
- Wall Handstand
Kick up to handstand position with feet resting against wall for support, maintain straight line
- Weighted Front Lever
From hanging position, raise weighted body to horizontal position. Maintain front lever form despite added resistance.
- Weighted Planche
Maintain full planche position with additional weight. Focus on form despite increased difficulty.
- Weighted Sit-up
Contract your abs and lift your torso up while keeping the weight secure against your chest. Pause at the top, then slowly lower back down.
- Wide-Grip Pull-up
Pull your body up until your chin clears the bar, focusing on squeezing your shoulder blades together, then lower with control